
Are you tired of watching your carefully nurtured garden suffer because of a broken drip irrigation line? You’re not alone.
A malfunction in your drip irrigation system can quickly turn your lush landscape into a parched plot. But don’t worry—fixing a broken line is easier than you might think. Imagine the satisfaction of knowing your plants are getting the exact amount of water they need, right when they need it.
We’ll guide you step-by-step on how to repair a drip irrigation system with a broken line, ensuring your garden stays vibrant and healthy. Let’s dive in and get your garden back on track!
Tools And Materials Needed
Repairing a drip irrigation system with a broken line requires specific tools and materials. Without the right equipment, the repair process can become frustrating and inefficient. Having everything ready beforehand ensures a smooth and quick fix. This section details the essential tools and materials needed. Let’s get started!
Tools Required For Repair
First, you’ll need a pair of sharp scissors or garden shears. These cut the damaged section of the drip line cleanly. A pair of pliers is also essential. They help in gripping and twisting components securely.
Get a shovel or trowel for digging. You’ll use these to expose the broken line without damaging it further. A small screwdriver might be useful. It helps in loosening and tightening clamps or connectors.
Materials Needed
Have replacement tubing ready. This replaces the broken section in your irrigation system. Make sure it matches the diameter of the existing line. You’ll also need connectors. Barbed connectors work best for joining new tubing sections.
Don’t forget clamps. They secure the tubing to the connectors. Teflon tape is another essential item. It ensures a watertight seal around connectors. Having these materials handy ensures a seamless repair process.
Additional Supplies
Consider keeping a bucket of water nearby. It helps in cleaning the area around the broken line. A towel or rag is useful too. Use it to wipe off any dirt or debris from tools or hands. Gloves are also recommended. They protect your hands while working with sharp tools.
By gathering these tools and materials, you’re ready for an efficient repair. Enjoy the satisfaction of a job well done!

Credit: sprinklersystemcalculator.com
Identifying The Problem
Repairing a drip irrigation system requires identifying the problem first. A broken line can disrupt water flow and damage plants. Fixing these issues quickly can save time and prevent waste.
Locating Leaks
Start by turning on the irrigation system. Walk along the lines and look for signs of water pooling. Listen for hissing sounds which indicate a leak. Wet soil or visible water streams can guide you.
Use your hands to feel for moisture. This helps in pinpointing the exact location. Check for dripping connections and joints. Broken lines often show visible wear or damage.
Assessing Damage
Once the leak is located, assess the damage extent. Check if the line is cracked or completely broken. Minor leaks may need simple patching. Larger breaks might require new pipe sections.
Inspect surrounding areas for additional damage. Look for soil erosion near the leak. This can indicate long-term issues. A thorough check ensures all problems are noted.
Repairing Broken Lines
Fixing a drip irrigation system with a broken line involves locating the leak and cutting out damaged sections. Use connectors to join the ends securely. Ensure the water flows smoothly after repair.
Repairing a broken line in your drip irrigation system might seem daunting, but it’s a task you can handle with a bit of guidance and patience. You might remember the time when you first installed the system, ensuring each line was perfect, only to find a leak weeks later. This scenario is common, but with the right approach, you can have it running smoothly again. Grab your tools and let’s tackle this together.Cutting Out Damaged Sections
The first step in repairing a broken line is identifying the damaged section. Look for leaks or areas with visible wear. Once located, mark the spot clearly. Use a sharp pair of scissors or pruning shears to cut out the damaged portion. Ensure you make clean cuts to prevent future leaks. Don’t worry about cutting too much—it’s better to replace more than less. Think of it as giving your system a fresh start.Installing New Tubing
Once the damaged section is removed, it’s time to install new tubing. Measure the length of tubing needed to replace the section you cut out. Select tubing that matches the diameter of your existing lines for seamless integration. This ensures water flows efficiently, maintaining your plants’ hydration. Connect the new tubing using connectors or couplers designed for drip systems. Push the tubing firmly into place to avoid leaks. Test the system by running water through it. Check for leaks at the connection points. Adjust if necessary to ensure a tight fit. Repairing broken lines in your drip irrigation system is all about precision and care. What unexpected challenges have you faced in garden maintenance? Share your thoughts and solutions.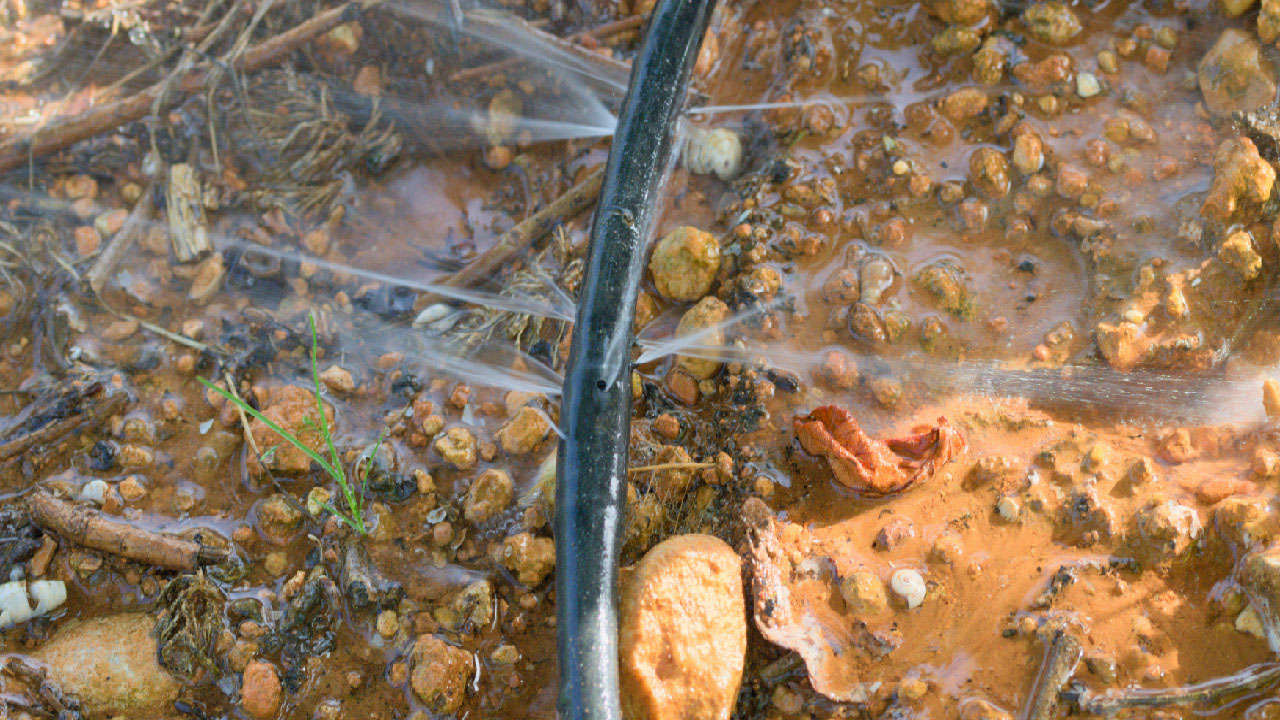
Credit: www.dripworks.com
Fixing Loose Connections
Dealing with loose connections in your drip irrigation system can be a frustrating experience. You might notice that water isn’t reaching your plants efficiently or that some areas are getting overly saturated. Loose connections are often the culprits behind these issues, causing leaks or completely disrupting the water flow. If you want to restore your system’s efficiency, understanding how to fix these connections is crucial.
Tightening Fittings
Loose fittings can often be tightened by hand. Inspect each connection to ensure it’s secure. If a fitting is visibly loose, give it a firm twist.
If hand-tightening doesn’t resolve the issue, use a wrench for a more secure fit. But be cautious; overtightening can cause cracks, leading to more leaks.
Have you ever tried fixing a connection only to make things worse? It’s a common mistake, but learning from it can help you avoid future troubles. Next time, remember to tighten just enough to stop the leak.
Replacing Connectors
Sometimes, connectors are beyond repair and need replacing. Keep spare connectors in your toolkit for quick fixes. This saves you time and prevents prolonged water wastage.
To replace a connector, first, cut the tubing evenly using a pair of sharp scissors. Then, attach the new connector by pushing the tubing firmly onto its ends.
Think about this: what’s stopping you from checking your connectors now? Regular maintenance could prevent small issues from becoming big problems. A little effort can save you a lot of hassle down the line.
Maintaining The System
Fixing a broken line in a drip irrigation system involves locating the leak and cutting the damaged section. Use a connector to attach the new tubing securely. Regular inspection helps prevent future issues and ensures efficient water delivery to plants.
Maintaining your drip irrigation system is crucial for its longevity and efficiency. You wouldn’t want to find yourself with a parched garden just because a tiny detail was overlooked. Regular maintenance not only saves time but also prevents bigger issues from arising unexpectedly. Picture this: you’re sipping your morning coffee, glancing at your flourishing plants, knowing your irrigation system is in top shape.Regular Inspection Tips
Regular inspections are your first line of defense against malfunction. Start by checking the entire length of the drip lines. Look for any visible cracks or leaks. A quick stroll through your garden once a week can make all the difference. Don’t forget the emitters. Make sure they’re not clogged. If water flow seems inconsistent, clean them with a soft brush or replace them if necessary. Feel the soil near the lines. If it’s overly dry or soggy, you may have an issue. A simple touch can reveal hidden problems.Preventive Measures
Preventive measures go a long way in keeping your system intact. Consider burying the drip lines slightly underground. This protects them from accidental damage like stepping or gardening tools. Plus, it keeps them hidden from curious pets! Invest in quality materials. Cheap lines may crack easily, costing you more in the long run. Spending a bit more now can save headaches later. Think about adding a filter to your system. This ensures that debris doesn’t clog the lines. It’s a small investment for peace of mind. Have you ever wondered how a quick fix today can prevent a costly repair tomorrow? Taking these steps can be the difference between a thriving garden and a struggling one. So, what are you waiting for? Regularly inspect and preventively maintain your drip irrigation system for a hassle-free gardening experience.
Credit: www.youtube.com
Testing And Adjustments
Fixing a drip irrigation system with a broken line involves checking the hose for leaks. Cut and replace damaged sections with new tubing. Ensure connections are secure to prevent further leaks, and test the system to confirm repairs. Regular adjustments maintain efficiency and water flow.
Testing and adjustments are crucial steps in ensuring your repaired drip irrigation system functions optimally. After fixing a broken line, you must verify that water flows correctly and make necessary tweaks. It’s not just about sealing leaks; it’s about achieving the ideal balance for efficient watering.Ensuring Proper Water Flow
Once the repair is complete, turn on your system and observe the water flow. Stand back and watch each emitter closely. Is water reaching all areas evenly? If you notice any dry patches or overly wet spots, there might still be a problem. Adjust the emitters, ensuring they’re not clogged or misplaced. Sometimes, a simple adjustment can make a world of difference.Adjusting Water Pressure
The right water pressure is essential for a drip irrigation system. Too high, and you might burst another line; too low, and plants won’t get enough water. Use a pressure gauge to measure the system’s pressure levels. If it’s too high, consider installing a pressure regulator. If too low, check for any blockages or kinks that could be restricting water flow. Reflect on your own gardening experience. Have you ever noticed a change in plant growth due to inconsistent watering? This might just be the key step you’ve been missing. Test and tweak until you find that sweet spot. The satisfaction of a well-watered garden is worth the effort. And don’t forget, regular maintenance can prevent these issues from cropping up again. In what ways do you think a well-adjusted system could benefit your garden’s health?Frequently Asked Questions
How To Fix A Broken Irrigation Line?
First, turn off the water supply. Dig around the broken section to expose the pipe. Cut out the damaged part and replace it with a new pipe section. Use couplings to secure it. Turn the water back on and check for leaks.
How To Repair A Drip Line Hole?
Locate the hole in the drip line and clean the area. Use a repair coupler or patch kit to seal it. Ensure a snug fit and test for leaks. Regularly check your drip line for damages to maintain efficiency.
How To Plug A Drip Line Hole?
Use a goof plug to seal the hole in the drip line. Insert the plug firmly into the hole. Ensure the plug fits snugly to prevent leaks.
Can You Just Poke Holes In A Drip Line?
Poking holes in a drip line is possible but not recommended. It can cause uneven water distribution and leaks. Use proper emitters for better efficiency and control. Ensure uniform watering by maintaining the integrity of the drip line system. Proper installation ensures optimal plant hydration and system longevity.
Conclusion
Fixing a drip irrigation system is simpler than it seems. Broken lines can cause water wastage. Repairing them saves water and money. Start by identifying the leak. Use connectors or couplings for repair. Make sure all connections are tight. Check the system after fixing.
Look for any new leaks. Regular maintenance prevents future problems. By following these steps, you ensure efficient watering. Your plants will thrive, and your water bill will thank you. Keep your system in good shape, and enjoy a lush garden.
Happy gardening!
